
Do you know what Cricut Explore Air 2 is and what you can do with it? This machine is highly versatile and ideal for crafting enthusiasts. It can cut, write, and score on various materials, such as paper, vinyl, HTV, glitter paper, and bonded fabric. This machine is perfect for creating personalized items like home decor, greeting cards, bookmarks, keychains, and more.
If you are a beginner and want to know how to use this cutting machine, read this blog to explore its main features and how you can use it to create your first craft ever.
Major Features of Cricut Explore Air 2
Besides looking pretty and user-friendly, this machine has some amazing features. To know about features, read further:
- The Explore Air 2 has an in-built Bluetooth connection, which can connect wirelessly to your system or phone using the Cricut app.
- It comes with a fine point blade for cutting a wide range of craft materials.
- It has two clamps, one for holding blades and the other for tools.
- This machine has different blade options, like fine point, deep cut, and fabric blade, each suited for specific materials.
- This machine can cut and draw and cut up to 2 times faster than the original Explore model.
- The standout feature is its setting dial, which adjusts for different materials, such as paper, vinyl, and cardstock.
What Accessories Come In the Box?
Before you delve into how to use the Cricut Explore machine for creating your DIY project, you need to know what tools and supplies come with the box. Proceed to read for all the items:
- Cricut machine
- Power adapter
- USB cord
- Premium fine-point blade + housing (already installed in the Clamp B)
- Pen and other accessories
- Welcome book
- Quick start guide
- LightGrip cutting mat
- Materials for a practice cut
So, these are the materials you will get in the machine box. Now, let’s move on to the full process of how to use the Explore Air 2 machine.
How to Setup and Use Cricut Explore Air 2?
Above, you will read about the features and accessories that come with the box. You will also learn how to set up Explore Air 2 and use it to create your first project. Read the below steps to set up your machine and use it to create your first-ever project:
- First, connect your machine to the power outlet and press the Go button to turn it on.

- Then, download the Cricut Design Space software on your device. To download it, visit the official site – design.cricut.com. This software is compatible with all devices, such as Windows, Android, Mac, and iOS.
- After the installation, sign in with your Cricut ID and password.
- Next, you can connect your machine to your devices using USB or Bluetooth. And your machine is ready to use.
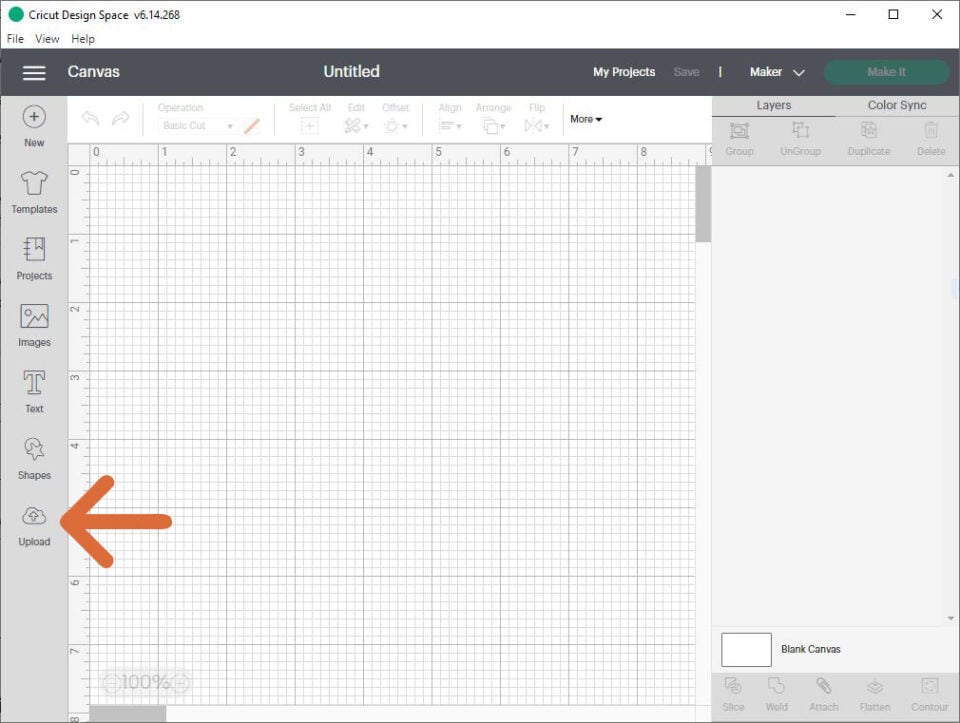
- When you are done setting up your machine, it is time to create a design in the app or choose an image from the library section and hit the Upload button to add the image to your blank canvas.
- And now, you are ready to cut the design with your machine. To do it, put the cardstock on your light grip mat, load the mat with cardstock insert into the machine, and allow it to cut your design.
- After the final cut, it is time to weed out the extra part, assemble all the pieces, and glue them to create your desired design.
Troubleshooting Tips for Cricut Explore Air 2
Here are some troubleshooting tips that you can try if you are having trouble with your Explore Air 2 machine:
Check Your Software
Make sure you have the latest version of the Cricut Design Space downloaded on your system. If you are using a computer, check if the browser is compatible and up to date.
Check Your Internet Connection
If you are using a USB cord, make sure the cable is properly connected to both your computer and the crafting machine. If the cord is damaged or loose, it can also cause an issue. Make sure your device’s Bluetooth is turned on.
Restart Your Cricut Machine and Device
Disconnect the machine from your computer, try to remove the blade housing, and check for any debris and residue. If the problem still persists, then try to change the blade.
Final Words
In this guide, you will learn all about Cricut Explore Air 2 related to setting up, unboxing your machine, and how to use it for creating your first-ever project. Start crafting your project with the Explore Air 2 machine, and now you know its features and what comes in the box. With the above simple steps, you can set up your machine.
So, set up your machine today and start creating with it. The possibilities are endless.
Frequently Asked Questions (FAQs)
What materials can Cricut Explore Air 2 cut?
This machine can cut above 100 materials, including vinyl, iron-on, cardstock, glitter, sticker paper, etc. The setting dial on the machine makes it easy to adjust the machine to cut different materials. Using its dial settings, we can cut some of the most common materials, such as cardstock, vinyl, and iron-on.
How do you set up Cricut Explore via Bluetooth?
To set up an Explore Air 2 machine using Bluetooth, follow the below steps:
- First, make sure your machine is on and within 10-15 feet of your device.
- Now, open the Bluetooth option on your device.
- Then, select your machine’s Bluetooth device code from the list of available devices.
- If prompted, enter the PIN or pairing code and click on Pair to connect your device.
- Your machine should now be connected. And you will know it is connected when the power button light changes from white to blue.
What is the thickest material Cricut Explore Air 2 can cut?
You are not limited to only cutting paper, fabric, and vinyl. The Cricut Explore series can cut over 100 types of materials. The Explore series machines can cut materials up to 2mm thick. Some of the thickest materials you can cut with the Explore Air 2 include faux leather, printable fabric, and genuine leather.